Easy installation of self-adhesive felt panels
Installing self-adhesive felt panels is a quick and easy way to improve both the acoustics and the look of your space. These panels feature a sturdy, self-adhesive backing, so you don’t need any complicated installation tools. Below, we explain step by step how to install them. Installation is so simple that any DIY enthusiast can do it themselves. We don’t use a drill, screws, or high-tack adhesive.
Steps for easy installation
1. Preparing the wall
Make sure the wall is clean, dry, and dust-free. This is essential to ensure that the self-adhesive backing adheres properly to the surface. If necessary, use a damp cloth or a mild cleaner to remove dirt and grease. We recommend running your flat hand over the surface to check for any bumps and removing them with a scraper or putty knife.
2. Planning and Positioning
Decide on the layout of the panels in advance. Do you want a neat pattern or a playful mix of panels? Mark the position of each panel with a pencil or painter’s tape to ensure everything is straight. We’re fans of a self-leveling laser, but a regular level works just fine.
3. Removing the protective film
Carefully peel the protective film off the adhesive backing. Be careful not to rub the adhesive surfaces with your fingers to preserve the adhesive strength.

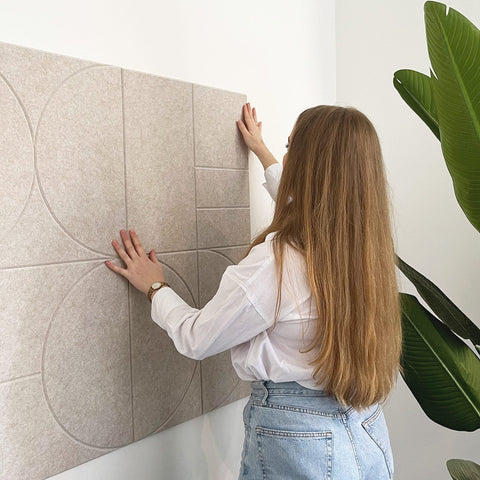
4. Installing the panels
Slowly apply the panel to the wall. Start at the top and press the panel firmly into place with your hands or a soft cloth. Work from the center toward the edges to avoid any air bubbles.

5. Inspection and Finishing
Check that each panel is securely attached. If necessary, you can roll a roller over the surface to ensure better adhesion.
Benefits of Self-Adhesive Felt Panels
Self-adhesive felt panels not only provide sound absorption and aesthetic appeal, but also make the installation process quick and hassle-free. With minimal preparation, you can easily create a quiet, stylish environment that complements your interior.